How to Transfer Items Between Stores
1. Overview
This guide explains how to transfer inventory items from one store to another within the system, and covers the store management operations that support this workflow.
2.Why It Matters
Proper store transfers keep stock balances accurate, improve traceability across locations, and make sure the receiving store always has the inventory it needs.
3. Prerequisites
Before starting a transfer, confirm the following:
You have the appropriate user permissions, including access to the relevant stores.
Both the source and destination stores already exist in the system.
The item you want to move is available in the source store.
A batch is available, if the item uses batch tracking.
4.Example Scenario
5.Transferring an Item
Navigation:
Transfer an item to another store
Search for the item using the search panel.
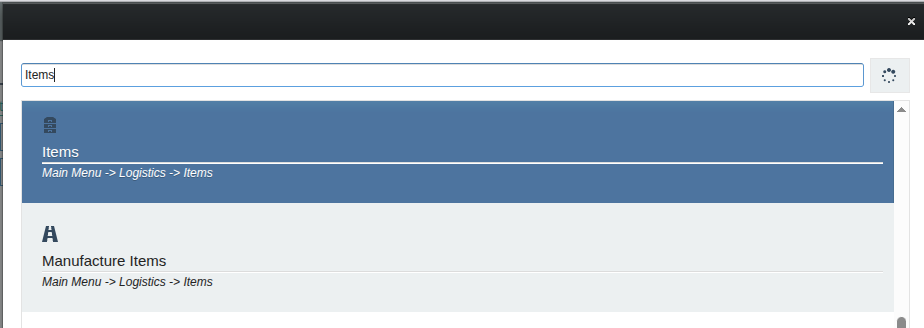
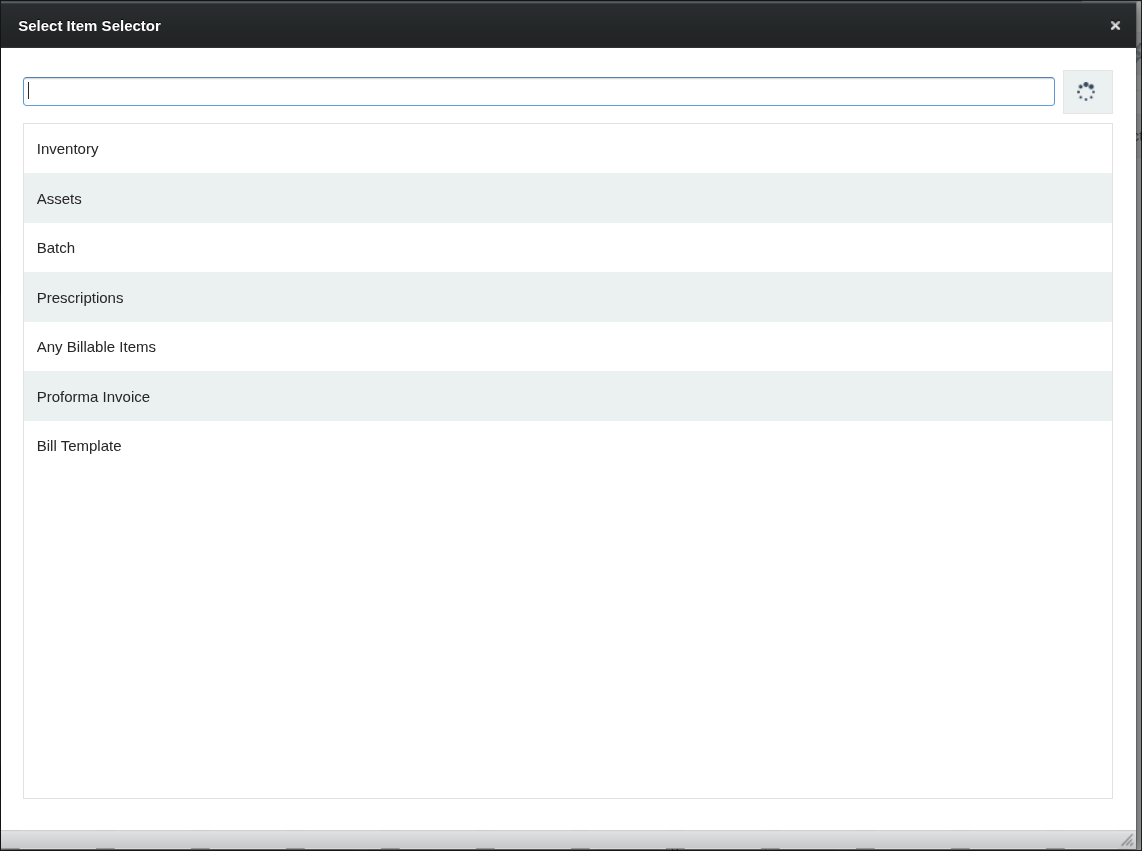
Select the item you want to transfer to another store.
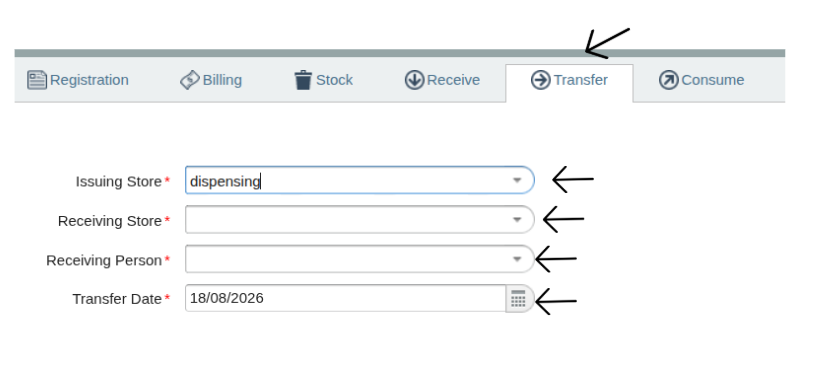
Open the Transfer tab, located on the upper pane.
Fill in the following fields:
Issuing store
Receiving store
Receiving person
Transfer date
Select the batch of the item you want to transfer, along with the quantity.

Click the Save icon below the form.
The item is transferred successfully to the destination store.
6.What Happens After Saving?
No | Action | Result |
|---|---|---|
1 | Transfer saved | A transfer record is created |
2 | Source store | Stock is reduced |
3 | Receiving store | Stock is increased |
4 | Reports | The transfer becomes available in movement report. |
7.Configurations to Set
Configure the stores used for transfers.
Assign user permissions for each store.
Enable batch tracking, if your items require it.
8.Troubleshooting
No | Problem | Solution |
|---|---|---|
1 | Insufficient stock | Reduce the transfer quantity or replenish stock in the source store |
2 | Batch unavailable | Select a different, available batch |
3 | Save fails | Check that all mandatory fields are filled in and that you have the required permissions |