Items
Define item
Item is one of the important parts of inventory and business operations. It helps the organization to identify, organize, and manage products or services available in the system.
This document explains the basic information about items, including their definition, types, categories, and unit relationships. It provides guidance on how items are structured and managed to ensure accurate records and smooth business operations.
An item is any product, material, or service that is bought, sold, stored, or used in the daily activities of a business or organization. An item can be a physical product, such as medicine or office supplies, or a service provided to customers.
Each item has information that helps identify and describe it. This information may include the item name, item code, category, unit of measure, and other details that make it easy to recognize and manage.
Keeping item information clear and organized helps improve record keeping, reduces mistakes, and makes it easier to find and use items whenever they are needed.
Examples of items include:
Panadol tablets
Bottled water
Syringe
Office paper
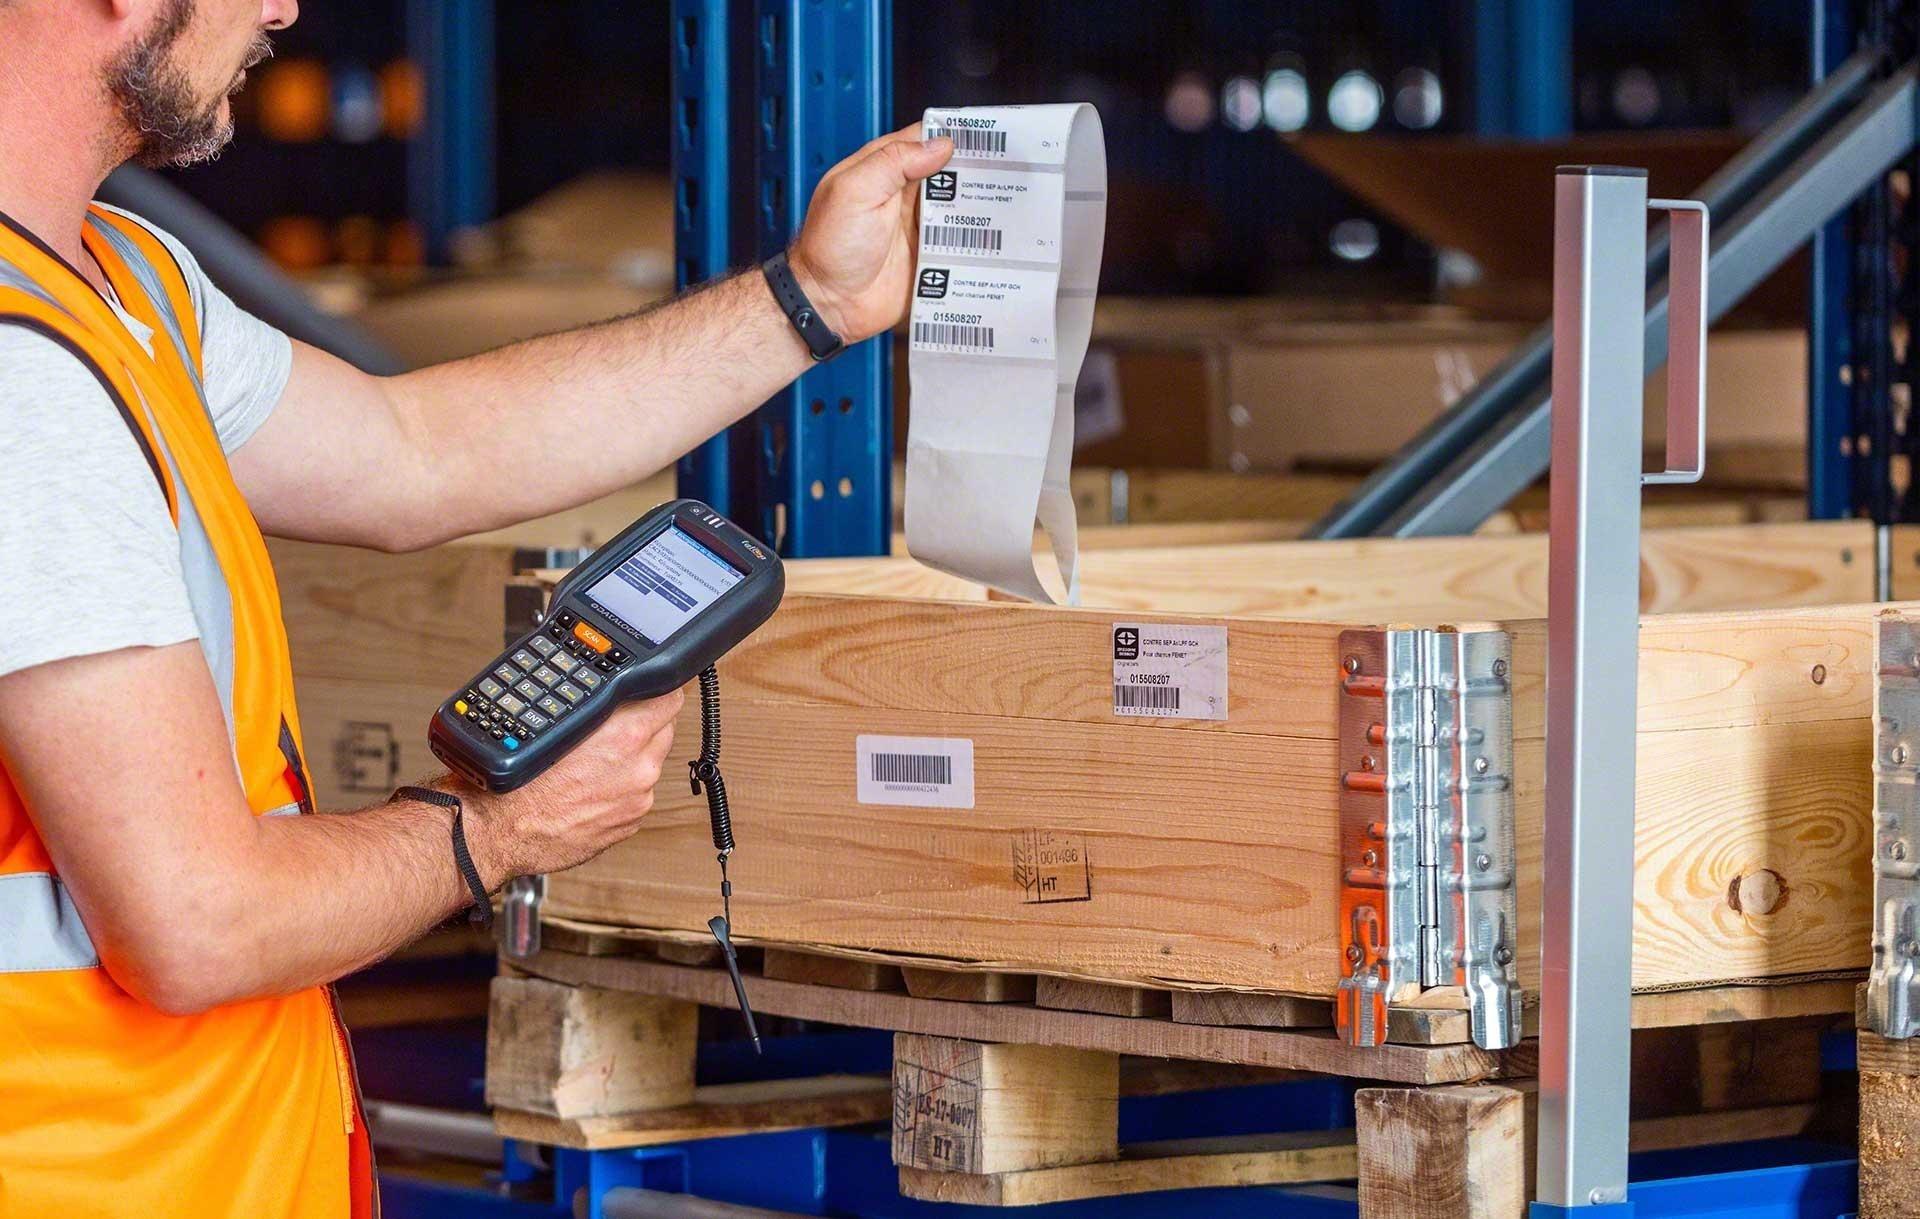
the image below shows item products or supplies kept in the organization and recorded for proper stock management
Important Features of Items in Inaya Items in Inaya contain several important features that help users identify, manage, track, and control items effectively. When creating an item, it is important to provide clear and accurate information because these details are used when searching for items, managing stock, processing transactions, and generating reports.
The following are some of the important item features:
Item Code
The Item Code is a unique code used to identify an item in Inaya. It helps users quickly find and distinguish one item from another, especially when there are many items with similar names.
Enter a code that is easy to recognize and follows your organization's naming method.
Examples:
PCM500 – Paracetamol 500mg AMX250 – Amoxicillin 250mg
Each item should have a unique item code. Using the same code for different items can make it difficult to identify and select the correct item.
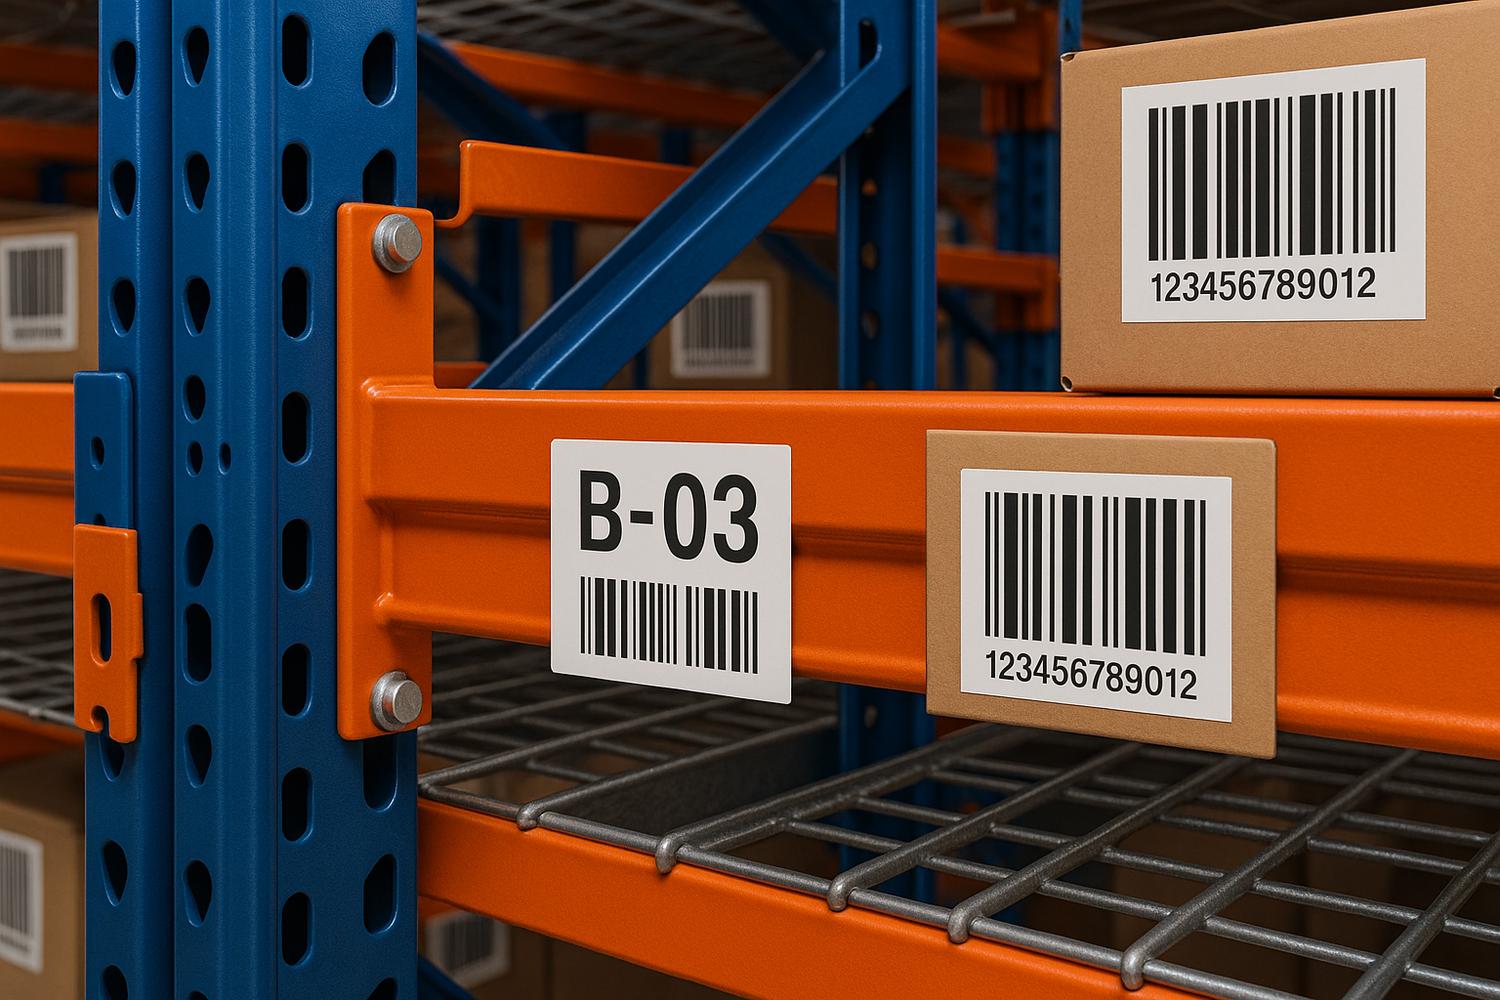
the images show item code
Item Name The Item Name is the name used to identify the item in Inaya.
Enter a clear and specific name so that users can easily understand what the item is. Include important details such as strength, size, type, or form when necessary.
Examples:
Paracetamol 500mg Tablets Amoxicillin 250mg Capsules Examination Gloves – Medium Printer Paper A4
Expirable Item
The Expirable Item option is used to show whether an item has an expiry date.
Select this option when the item has an expiry date and needs to be monitored to ensure it is used or sold before it expires.
When an item is marked as Expirable, its batches can be managed using their expiry dates. This helps users identify items that are approaching their expiry date and those that have already expired.
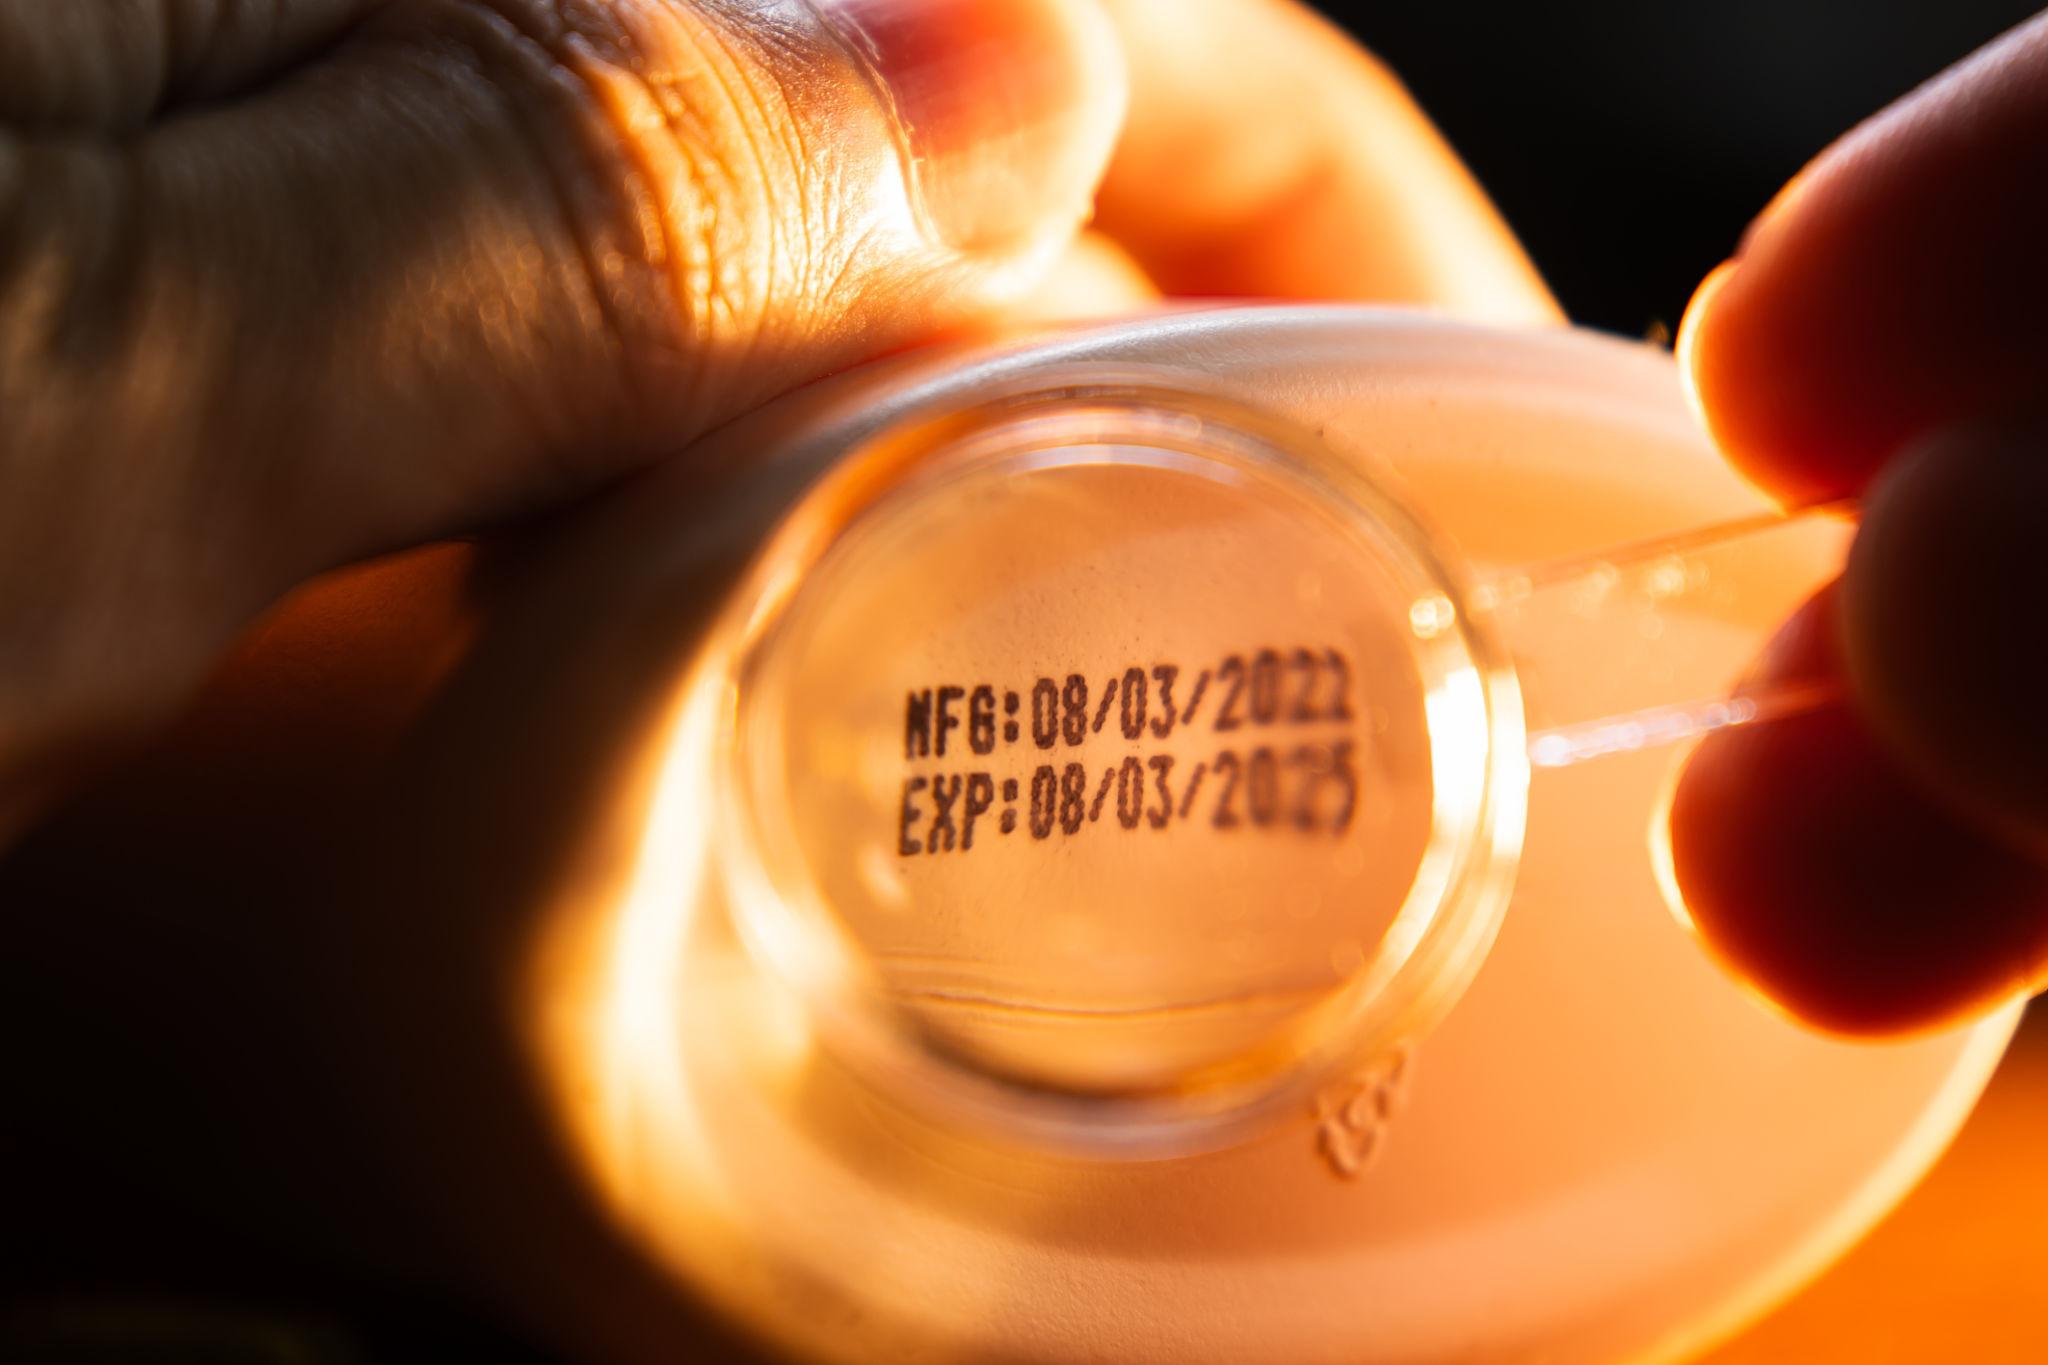
the images shows expire dates for items
Create a New Item
Go to Main Menu → Logistics → Items.
Open the Items screen.
Click the + (Add) button below the Items panel to start registering a new item.
Enter the required details for the item.
Click Save to create the new item.
Verify the result: confirm that the new item has been saved and appears in the Items list.
Read an Item
Go to Main Menu → Logistics → Items.
Review the available items displayed in the Items list.
Select the item you want to view.
Review the item's details displayed on the item panel.
Verify the result: confirm that you can view all the information associated with the selected item.
Update an Item
Go to Main Menu → Logistics → Items.
Select the item you want to edit.
Update the required item details.
Click Save to apply the changes.
Verify the result: confirm that the item information has been updated and the latest changes have been saved successfully.
**Delete (Remove Item)**
Navigate to Main Menu → Logistics → Items.
Select the item you want to delete.
Click the Delete icon located in the upper-right corner of the item details screen.
Confirm the deletion if prompted.
Expected Result: The selected item is permanently removed from the system if it meets the deletion criteria.
Types of Items
Items are divided into different types based on how they are used. Understanding the different types of items helps ensure that each item is handled correctly.
Inventory Item
An inventory item is a physical product that is kept in stock. These items are stored in a warehouse, store, pharmacy, or any other storage area until they are sold, issued, or used. The quantity of an inventory item changes over time. It increases when new stock is received and decreases when the item is sold, issued, damaged, or used. Inventory items require regular monitoring to ensure there is enough stock available when needed.
Examples of inventory items include:
Medicines
Gloves
Syringes
Laboratory reagents
Printer paper
Bottled water
Non-Inventory Item
A non-inventory item is a product that is not kept in stock. These items are not stored in a warehouse and are usually purchased or used only when they are needed. Because they are not stored, their quantities are not counted or monitored like inventory items. Non-inventory items are commonly used for one-time purchases or items that are not part of daily stock management.
Examples of non-inventory items include:
Office furniture
Computers
Air conditioners
Read an Item Type
Go to Main Menu → Logistics → Items.
Review the list of available items displayed on the Items page.
Locate the Type column in the Items list.
Review the Type column to see the type assigned to each item.
Update an Item Type
Go to Main Menu → Logistics → Items.
Select the item you want to update.
In the item details, locate the Type field.
Click the Type dropdown and select the required item type.
Click Save to apply the changes.
Item Categories
Define categories A category is a group used to organize similar items together. Categories make it easier to arrange, identify, and manage items with similar characteristics.
Instead of keeping all items in one long list, categories separate them into meaningful groups. This makes searching for items faster and helps keep records well organized.
Each category can contain many different items, but each item belongs to the category that best describes it.
Examples of Categories
no | Category | example of items |
|---|---|---|
1. | Drugs | panadol, amoxicilin |
2. | Laboratory supplies | test tubes, syringes |
3. | Cosmetics | vaseline oil, dove soap |
Using categories provides several benefits:
Keeps similar items together.
Makes items easier to find.
Improves organization.
Makes records easier to understand.
Helps prepare clear reports.
Saves time when looking for specific items.
>
The following are some of the important Category features:
Code The Code is a unique identifier used to identify a category in Inaya. It helps users easily recognize and search for a specific category, especially when there are many categories.
Parent Category The Parent Category is used to place a category under another existing category. It helps organize categories into a clear structure, especially when you have categories and subcategories.
Create a Category
Go to Configure → Inventory → Items → Category.
Click the + (Add) button at the bottom of the Category panel.
Enter the name of the new category.
Click Save to create the category.
Read Categories
Go to Configure → Inventory → Items → Category.
Review the categories displayed in the Category list.
Update a Category
Go to Configure → Inventory → Items → Category.
Select the category you want to edit.
Update the category name as required.
Click Save to apply the changes.
Delete a Category
Go to Configure → Inventory → Items → Category.
Select the category you want to delete.
Click the - (Delete) button at the bottom of the Category panel.
Confirm the deletion if prompted.
unit relationship
A unit relationship explains how different units of measure are connected. It shows how one larger unit is made up of one or more smaller units.
Many products are bought in large packages but used or sold in smaller quantities. A unit relationship makes it easy to understand how these units are connected.
unit
Unit is the measurement used for an item. It shows how the item is counted or measured, such as pieces (pcs), kilograms (kg), liters (L), or boxes.
For example, a business may buy medicine in cartons, store it in boxes, and sell it as individual tablets. Knowing the relationship between these units helps ensure quantities are counted correctly.
no | Larger unit | Smaller unit |
|---|---|---|
1. | 1 carton | 12 boxes |
2. | 1 box | 24 bottles |
3. | 1 bottle | 100 tablets |
4. | 1 kilograms | 1000 grams |
5. | 1 litre | 1000 millilitres |
Understanding unit relationships helps to:
Measure quantities correctly.
Convert one unit into another.
Count items accurately.
Reduce counting mistakes.
Keep records clear and consistent.
Create a Unit
Go to Configure → Inventory → Items → Unit.
Click the option to create a new unit.
Enter the required unit details.
Click Save to create the unit.
Read a Unit
To view all available units, go to Configure → Inventory → Items → Unit.
Review the units displayed in the Unit list.
To view the unit assigned to a specific item, go to Main Menu → Logistics → Items.
Select the item you want to view and open its details.
Locate the Item Unit field to view the unit assigned to the selected item.
Update an Item Unit
Go to Main Menu → Logistics → Items.
Select the item for which you want to update the unit and open its details.
Locate and click the Item Unit field.
Remove the current unit.
Click the dropdown and select the new unit you want to assign to the item.
Click Save to apply the changes.
Delete a Unit
Go to Configure → Inventory → Items → Unit.
Select the unit you want to delete.
Click the Delete option.
Confirm the deletion if prompted.
The Unit Relationship feature is used to define the relationship between different units of the same item. For example, 1 Box = 12 Pieces (pcs). Users can create, view, update, and delete unit relationships before the item has been billed.
Create a Unit Relationship
Go to Main Menu → Logistics → Items.
Select the item for which you want to create a unit relationship.
In the item details, locate the Unit Relationship section.
Click Add to create a new unit relationship.
Enter the required relationship details. For example, set 1 Box = 12 Pieces (pcs).
Click Save to save the unit relationship.
Read a Unit Relationship
Go to Main Menu → Logistics → Items.
Select the required item.
Open the Unit Relationship section in the item details.
Review the available unit relationships assigned to the selected item.
Update a Unit Relationship
Go to Main Menu → Logistics → Items.
Select the required item.
In the Unit Relationship section, select the relationship you want to edit.
Update the required unit relationship information.
Click Save to apply the changes.
Delete a Unit Relationship
Go to Main Menu → Logistics → Items.
Select the required item.
In the Unit Relationship section, select the relationship you want to delete.
Click Delete to remove the selected unit relationship.
Confirm the deletion if prompted.